Want to keep everybody in the loop of your innovative way of recruiting and share your success? Invite them to the Wonderkind dashboard and they can see the results for themselves.
How-to: add a new user in Launch
💡 Remember that you need admin rights to do this.
So you've checked out the Wonderkind dashboard and now it's time to share the fun with your colleagues. With this quick guide, we will show you how to add other colleagues.
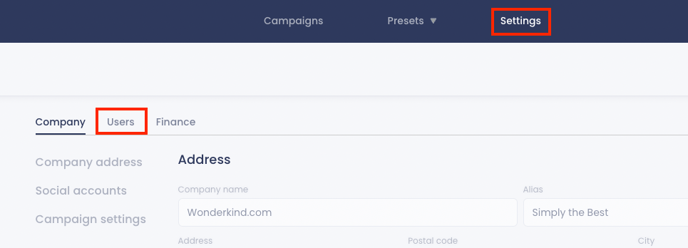
- Click on 'Settings' on the navigation bar at the top of the screen
- Click on the 'Users' button
- Scroll down to 'Add new user' and fill in the required info
- Select the workspaces you would like to give access to this specific user
- Click on 'Send invite'
Workspaces are the backbone of your structure within Launch. You can give your colleagues access to certain workspaces, in order to streamline the clients that certain users are responsible for.
Change the role of a user
In case you want to change the role of a user from Admin to Editor, or vice versa, you can follow the steps below:
- Go to 'Settings' in your dashboard;
- Click on the button 'Users'
- Click on the three dots icon next to the user

- Change the Role

The email will be sent from Adam Wonderkind. Please make sure to check the Spam folder, as the invite might end up there.
If you have any further questions on how to add a new user in Launch, please contact our Support team.