Looking for a way to organise your campaigns? Making use of workspaces are a great way to structure your campaigns. In this article we will discuss the different options (XML & manual)
In the homepage of Launch you are able to organise your campaigns through workspaces.
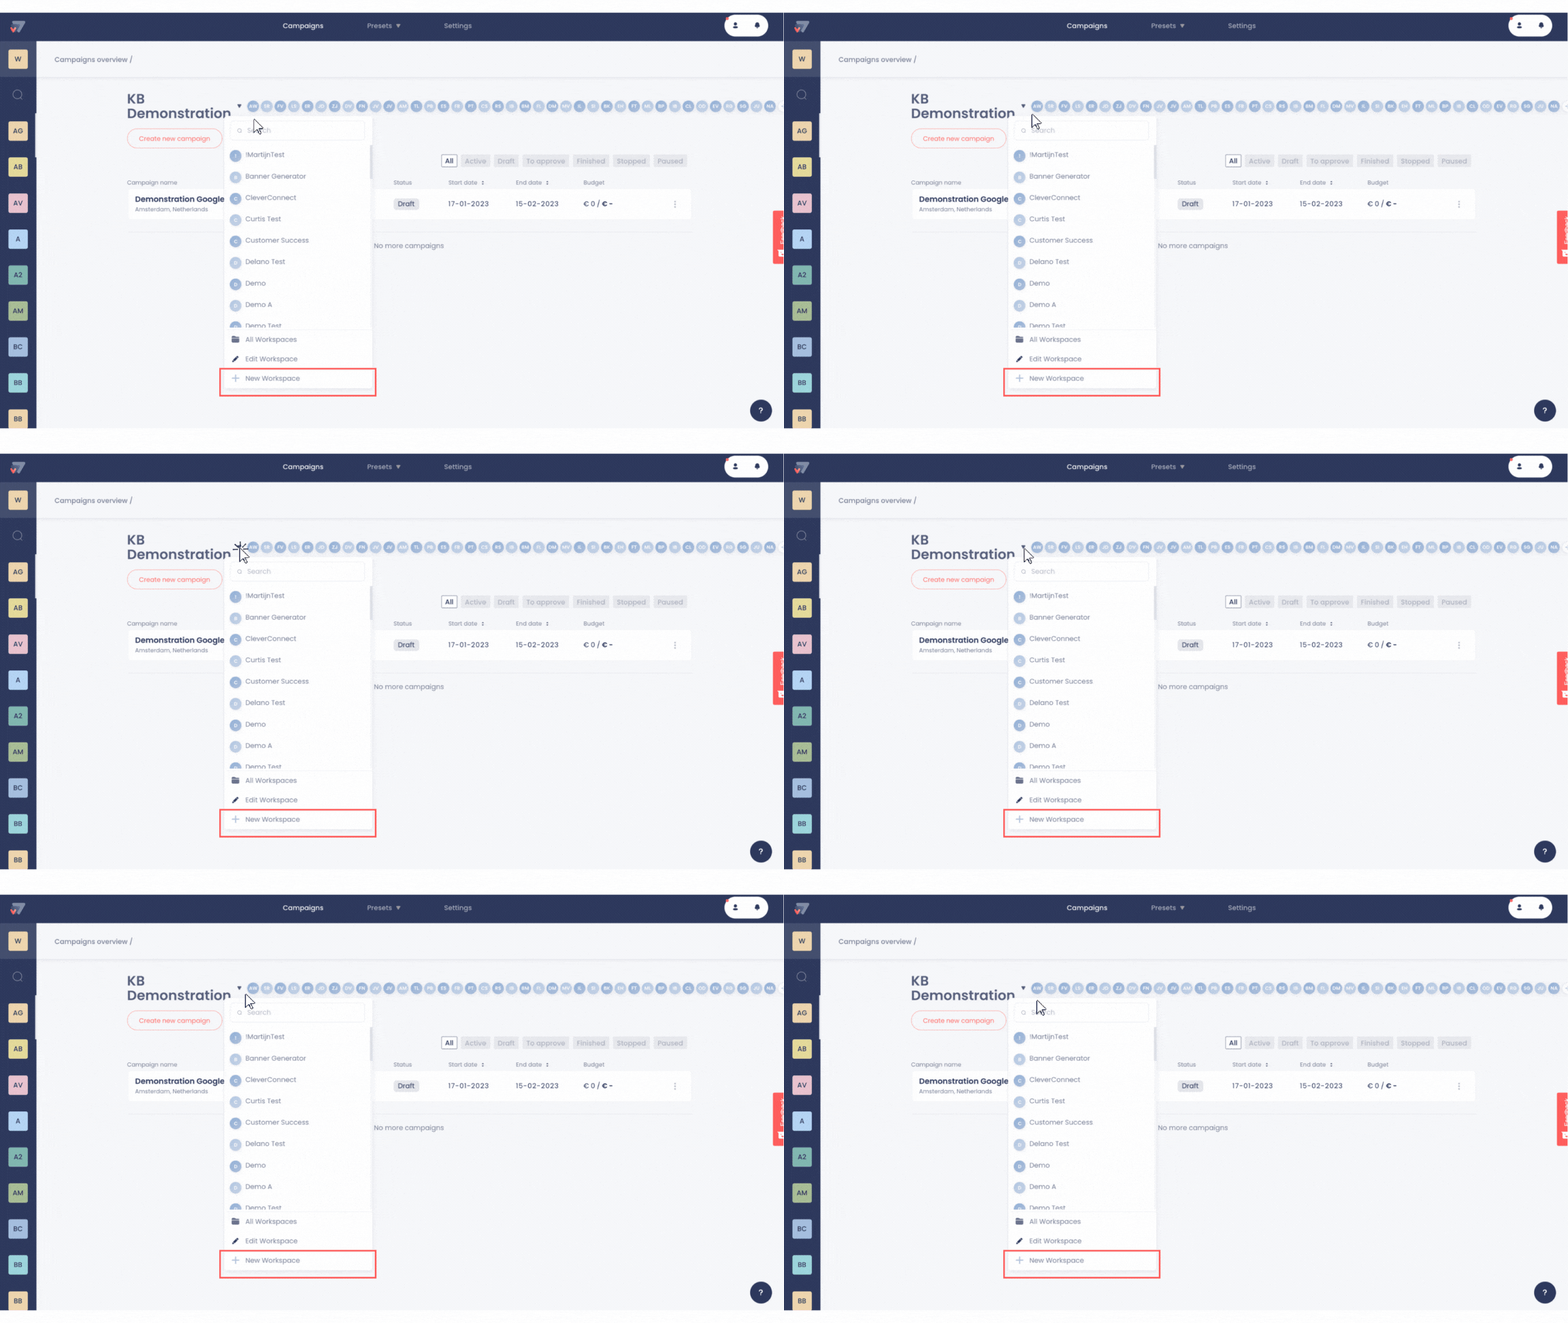
On the home page of Launch, at the top, you see an overview of all the workspaces. From here, you can also see the overview by clicking on the dropdown. In this dropdown it is also possible to add, edit and remove workspaces.

When you click ‘New Workspace’, you will see an option to name your new workspace. Workspaces can be edited after they have been created. This means that if there is one typo in the Workspace name, you are able to change the name.

When you create your campaigns via XML*, automatically a workspace is created per company. This way, you have an overview per customer.
You can also manually create workspaces to create a better overview per customer or department. It is advisable to create a workspace per clients to organise your account. Additionally, in Google Display ads you are able to choose the variable '%company%'. In this variable the workspace name is filled in.
If you set your campaigns manually you can also choose to have all campaigns in one workspace.
*Please note that if there is one typo in the company name, another workspace will be created.
*Please note: Workspaces cannot be merged, and campaigns cannot be moved from one workspace to another.
.png?height=120&name=Group%2010%20(1).png)